Shuleni
Report Card System • Uganda
This guide introduces you to Shuleni Report Card Software. It explains how to Add New Students, Enter Marks, Add Custom comments, Create Teacher Innitials, Print Report Cards, Import & Export records, and Delete Records among many other functionalities.
To install Shuleni Report Card Management software follow the steps below:
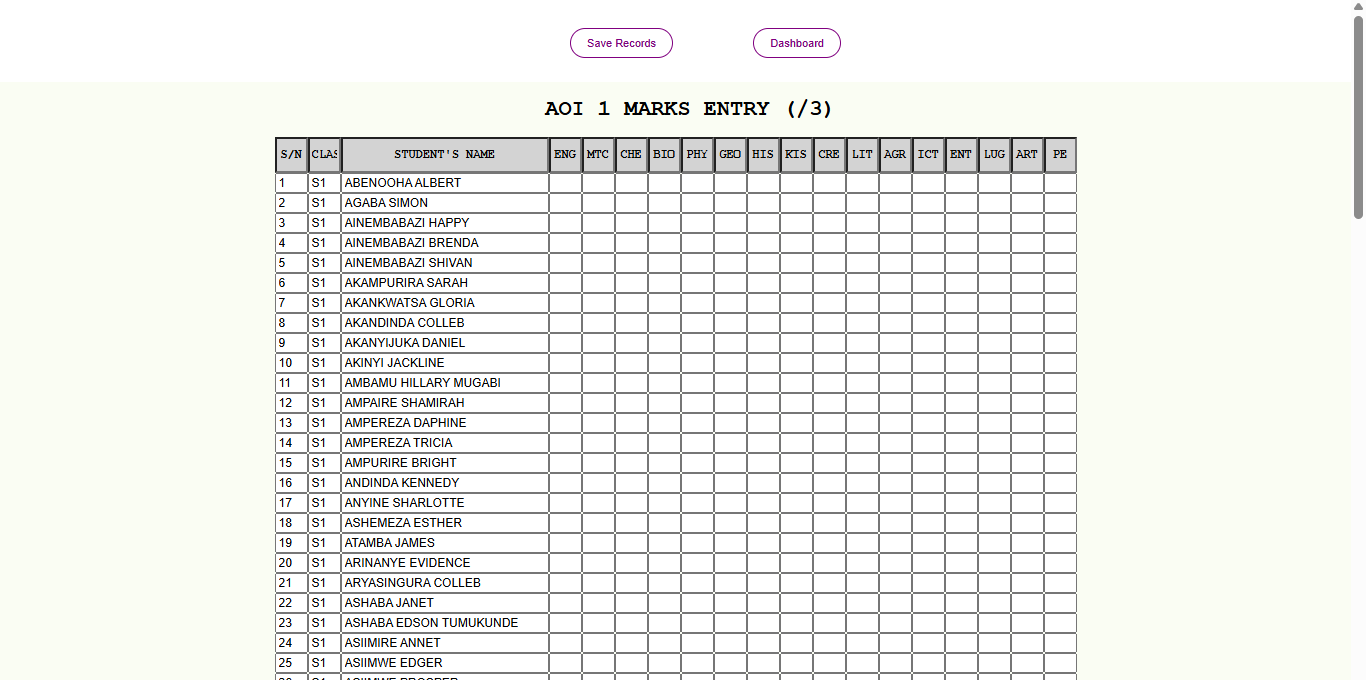
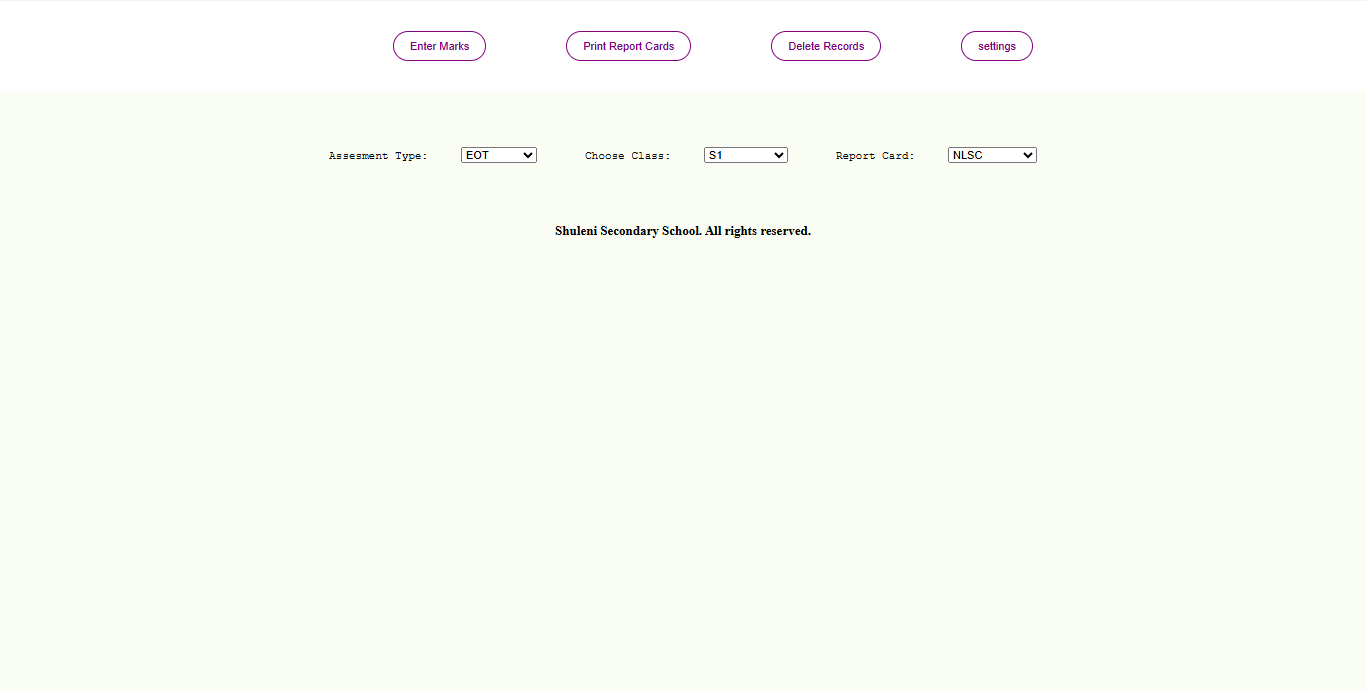
On the dashboard, select the Class for example S1, and click the Enter Marks button. You will be redirected to the Marks Entry interface from where you can add the new students. When you are done, click Save Records to save the new students.
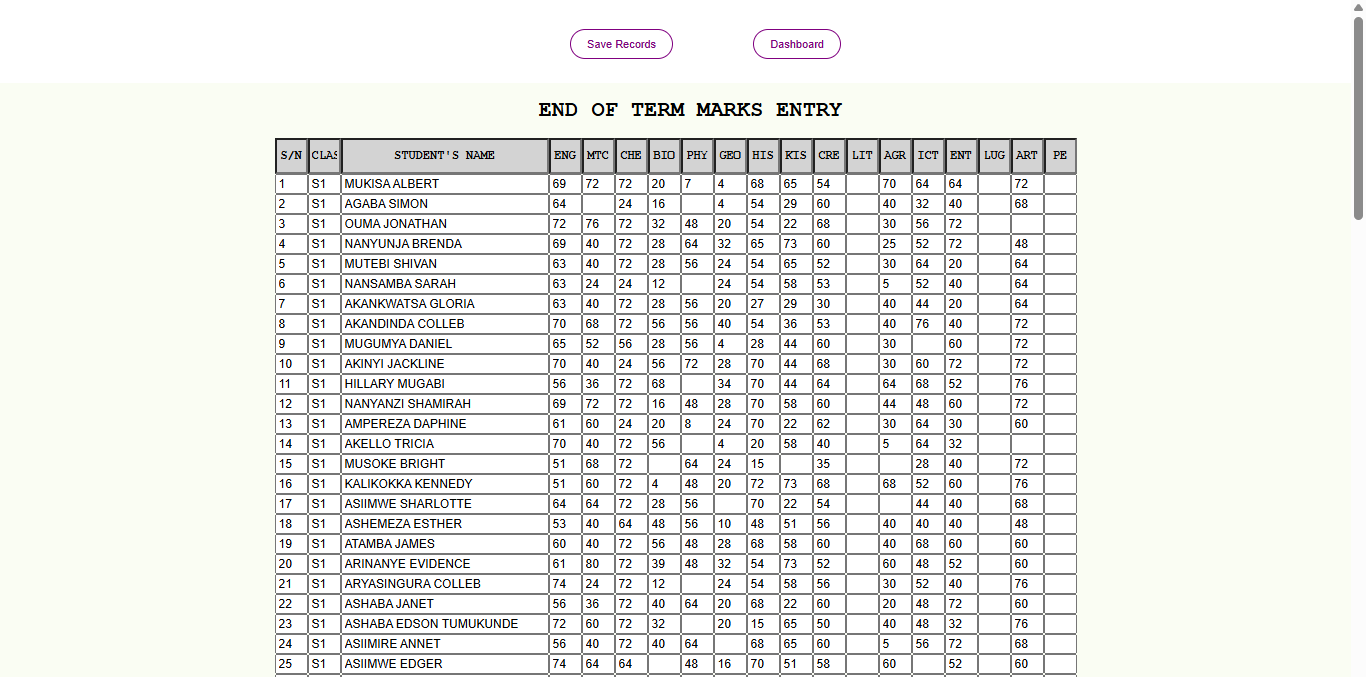
On the dashboard, select the target Class for example S2, select the Assessment Type, for example AOI1 or EOT, click the Enter Marks button. You will be redirected to the Marks Entry interface from where you can add, delete and edit all students marks for that assessment and class.
To navigate from one student to another you can use the Enter key (Top - Bottom). Use the Tab key to navigate from one subject to another (Left - Right).
Click Save Records to save the entered marks.
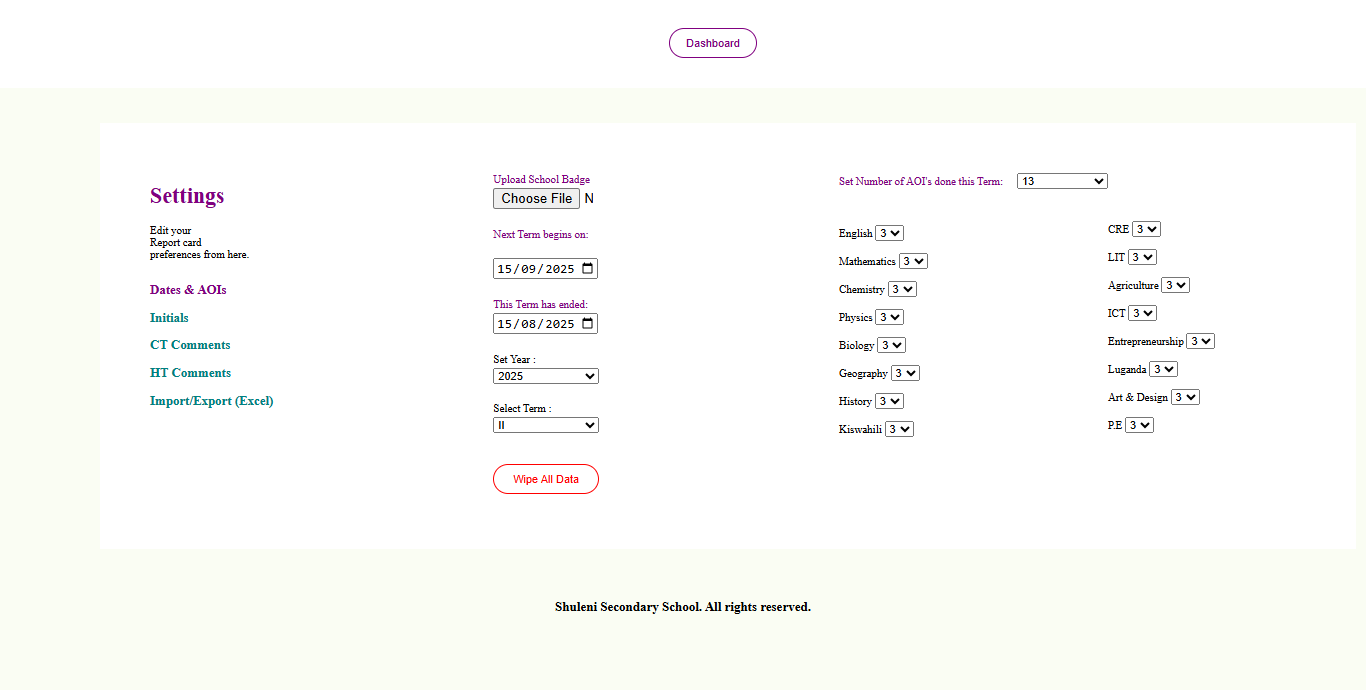
Before you can print out report cards with Shuleni, you will need to set a number of preferences.
From your dashboard, click the Settings button, you will be presented with options to Upload your school badge, set dates for the End of the current Term and the Begining of the next Term, and set the current year and term.
You will also be required to set the Number of subjects the target class offers, as well as the Number of AOIs done in each subject for the term.
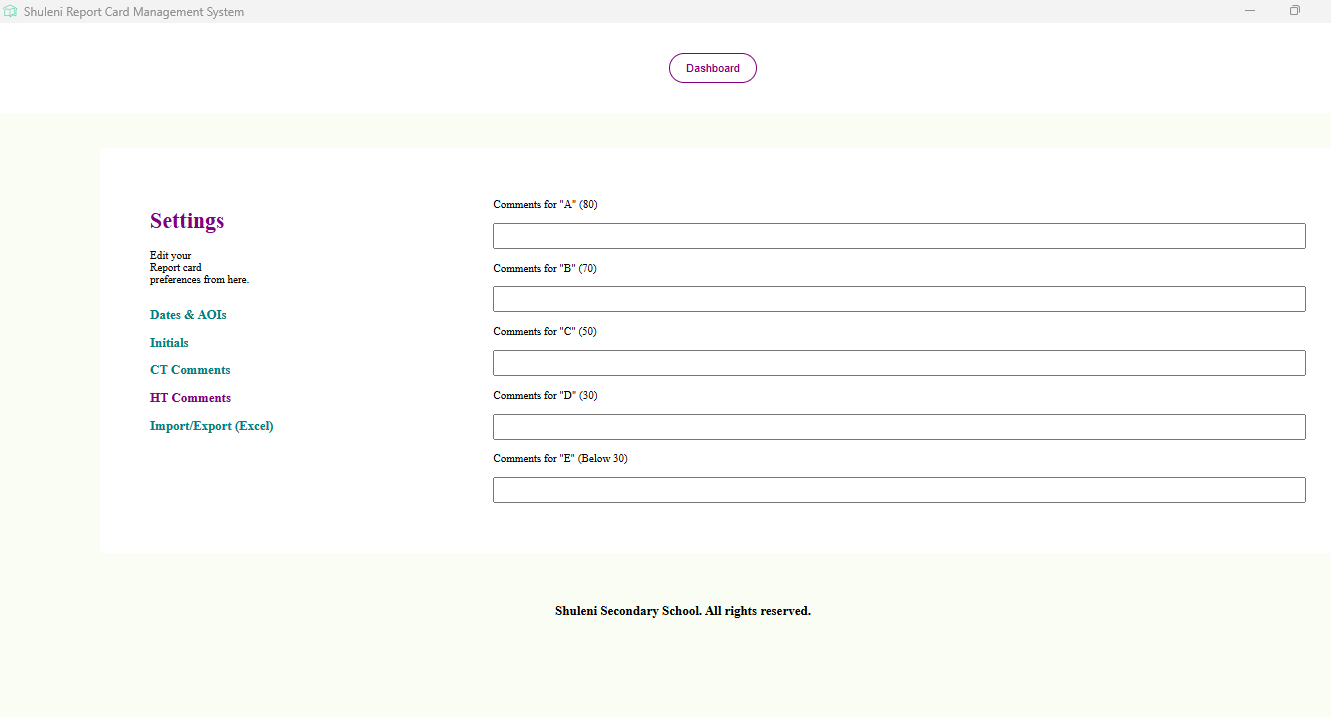
Shuleni allows you to set custom comments for the Headteacher and the Class Teacher.
From your dashboard, click the Settings button, then click CT Comments or HT Comments. You will be presented with fields into which you can type your custom comments
From the Shuleni dashboard, select the Class for which you want to generate report cards and your preferred Report Card Type. Click the Print Report Cards button. A File Explorer pop-up will require you to select the location where you want to save your report cards file. Your report cards (in pdf) will be downloaded in the selected file location.
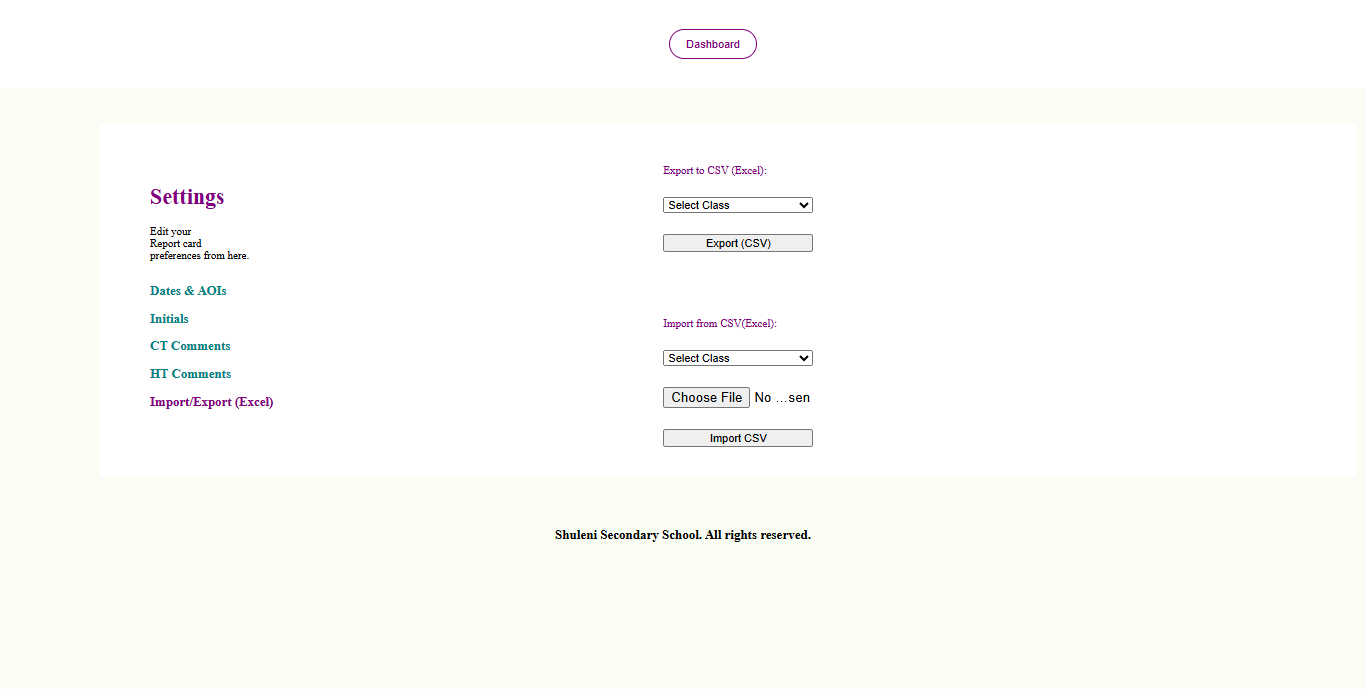
Shuleni allows you to Export entire class records to csv/Excel.
From the dashboard, click the Settings button, click Import/Export (Excel), select the Class you want to export, then click Export(CSV) to export that class' records.
A File Explorer pop-up will require you to select the location where you want to save your exported csv/excel file. Your file will be saved in the selected file location.
From the dashboard, click the Settings button, click Import/Export (Excel), select the Class you want to import, Choose File you want to import, then click Import CSV to import that class' records.
A pop-up will notify you with "Records Imported Successfully!".
From the dashboard, select the Class whose entire records you wish to delete. Click the Delete Records button.
A pop-up prompt will ask you to confirm whether you want to go ahead and delete all records for the selected class. If OK, all records for that class will be deleted.